If you’re on the hunt for a cookie that feels like a celebration in every bite, then your search ends here! This Strawberry Kiss Cookies Recipe brings together the soft creaminess of cream cheese sugar cookies with the fun sparkle of sanding sugar and a playful Hershey’s Strawberry Ice Cream Cone Kiss perched on top. Let me show you why these cookies quickly became a favorite in my kitchen—I'm betting they’ll be yours too!

Jump to:
Why You'll Love This Recipe
I honestly can’t get enough of these Strawberry Kiss Cookies. They’re festive, super simple to whip up, and that creamy cookie dough with the tang of cream cheese just sends them over the top. Plus, who doesn’t love a colorful sprinkle-coated cookie crowned with a strawberry-flavored Kiss? Perfect for birthdays, holiday parties, or your next cozy day in.
- Super soft texture: Cream cheese in the dough keeps these cookies wonderfully tender.
- Fun festive look: The pink or white sanding sugar or non-pareils create a shimmering coating that’s just delightful.
- Easy to make: Using a funfetti sugar cookie mix saves tons of time without sacrificing flavor.
- Unforgettable topping: The Hershey’s Strawberry Ice Cream Cone Kisses add a burst of fruity chocolatey goodness on each cookie.
Ingredients & Why They Work
When you’re shopping for these cookies, you’ll want to keep an eye out for the funfetti sugar cookie mix—it's the base that makes adding cream cheese and egg a dream for soft, creamy dough. The Hershey’s Strawberry Ice Cream Cone Kisses are a must—they’re the signature topper and add that special strawberry-chocolate twist.
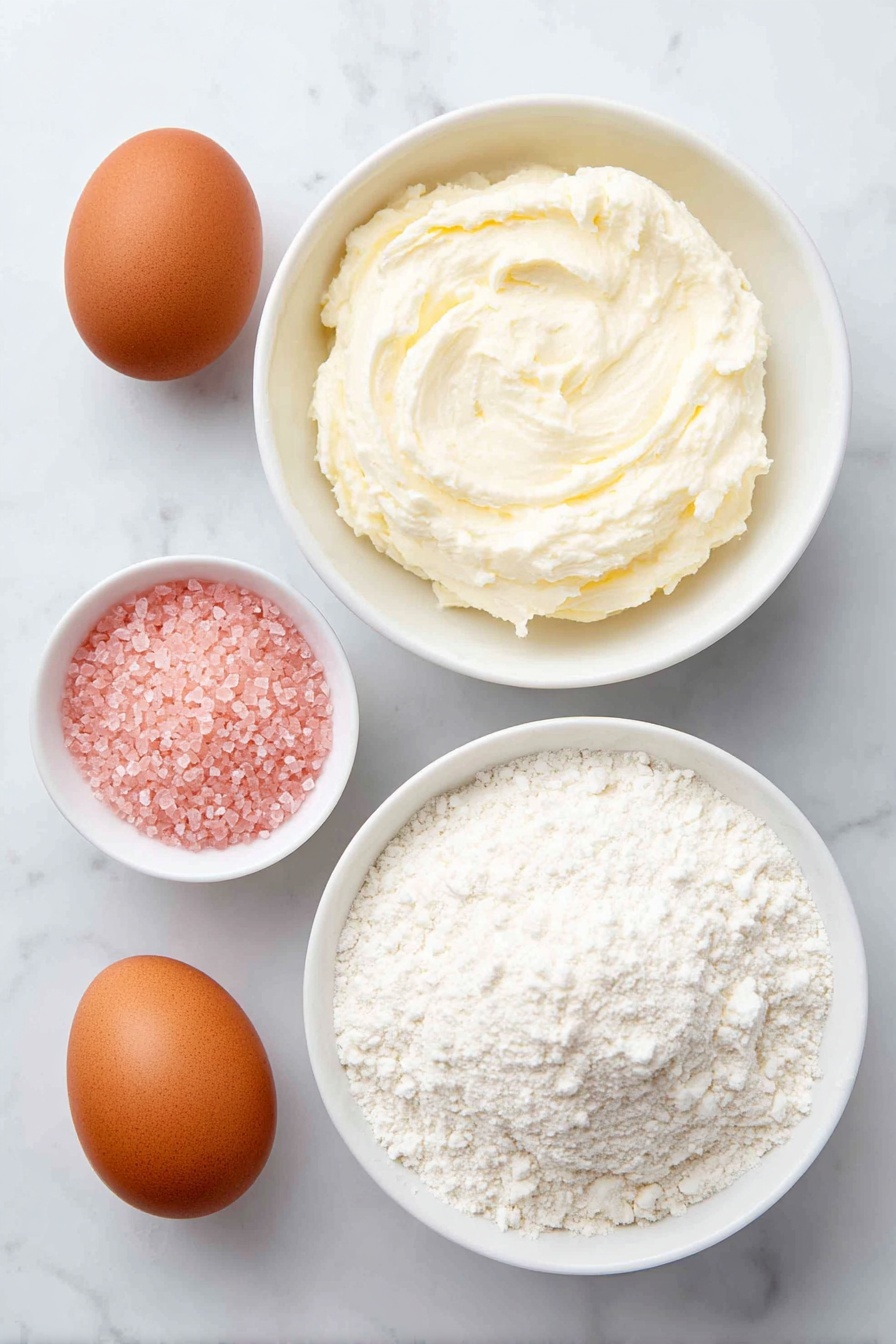
- Funfetti Sugar Cookie Mix: A pre-mixed base that’s quick and guarantees that classic festive flavor and texture.
- Cream Cheese: Adds a luscious softness and slight tang to the cookies, making them irresistibly tender.
- Large Egg: Binds the dough together perfectly and contributes to the cookie’s soft crumb.
- Pink or White Sanding Sugar or Non-pareils: Gives the cookies their sparkly, colorful crust and a fun crunch.
- Hershey’s Strawberry Ice Cream Cone Kisses: The iconic strawberry-flavored chocolate that finishes each cookie with a deliciously sweet pop.
Make It Your Way
The beautiful thing about this Strawberry Kiss Cookies Recipe is how easily you can customize it to fit your mood or occasion. Whether you want to switch up the coatings or tweak textures, there’s room to make these cookies uniquely yours.
- Swap the Coating: If you’ve got a sweet tooth for crunch, try using white or pink sanding sugar for a delicate shimmer and slight crisp texture. Personally, I love the playful crunch sanding sugar adds! But for a fun, colorful pop, non-pareils bring that festive vibe perfect for parties.
- Chilling the Dough: Sometimes the dough feels too sticky to handle right away. I recommend chilling it for 30-60 minutes if that happens—makes scooping and rolling much easier and helps your cookies hold their shape. It’s an optional but game-changing step in my kitchen.
- Adjust the Kiss Texture: How melty do you want those Hershey’s Strawberry Ice Cream Cone Kisses? Pressing them into hot cookies will create ooey-gooey softness that’s irresistible. Letting the cookies cool for 3–5 minutes before adding the Kiss strikes a perfect balance, but if you prefer a firmer bite, wait until the cookies have fully cooled.
- Make It Your Own Flavor: Feel adventurous? Try folding in some finely chopped freeze-dried strawberries or a hint of vanilla extract to give the dough a personalized twist to complement those fruity Kisses.
Step-by-Step: How I Make Strawberry Kiss Cookies Recipe
Step 1: Prep Like a Pro for Perfect Cookies
Let’s get started by lining a large baking sheet with parchment paper — this prevents sticking and helps cookies bake evenly. Preheat your oven to 375 degrees Fahrenheit so it’s nice and hot when your cookies go in, ensuring they bake perfectly every time.
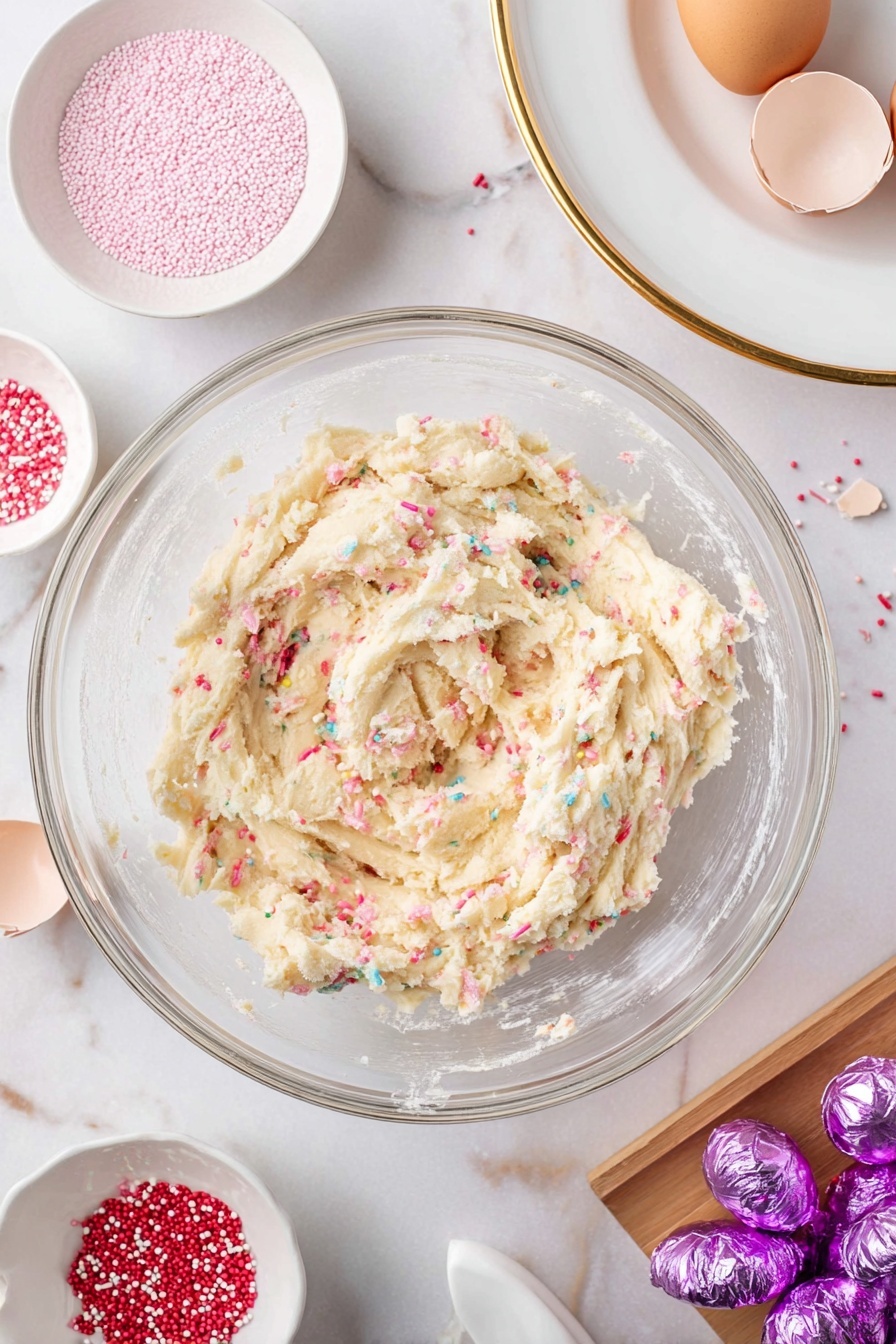
Step 2: Mix Up That Creamy Funfetti Dough
In a large mixing bowl, combine your 16-ounce bag of Funfetti sugar cookie mix with the softened cream cheese and one large egg. Grab your hand mixer or stand mixer and beat everything together until it forms a soft, creamy dough. You'll notice the dough is tender and slightly sticky—that’s exactly what you want!
Step 3: Prep the Sparkly Sugar Coating
Pour your choice of pink or white sanding sugar or non-pareils into a shallow bowl. This will be your magical coating that makes each cookie glisten and adds that little extra texture and color.
Step 4: Scoop, Coat, and Shape Your Cookies
Using a 1 ½ tablespoon cookie scoop, portion out dough balls and gently drop them into the sanding sugar or non-pareils bowl. Roll your dough balls until fully coated and smooth, then quickly shape them into even balls. If the dough feels too sticky to handle, pop it in the fridge or freezer for 30-60 minutes—this makes shaping so much easier and keeps your hands less sticky.
Step 5: Bake to Golden Perfection
Arrange your coated dough balls onto the prepared baking sheet, making sure to leave about 1 ½ inches between each cookie for spreading. Slide them into your preheated oven and bake for 12 minutes or until the edges look set and have just a hint of golden color. The kitchen will start smelling amazing!
Step 6: Cool and Crown with a Strawberry Kiss
After pulling the cookies from the oven, let them rest on the baking sheet for 3-5 minutes. This resting period ensures they’re stable enough to hold that signature Hershey’s Strawberry Ice Cream Cone Kiss. Gently press an unwrapped Kiss right into the center of each cookie, letting it nestle perfectly on top.
Step 7: Final Cooling and Enjoy!
Carefully transfer the cookies to a wire rack to cool completely if you want firmer Kisses, or enjoy them warm if you prefer that melty, soft effect. Either way, these cookies are simply irresistible!


Leave a Reply