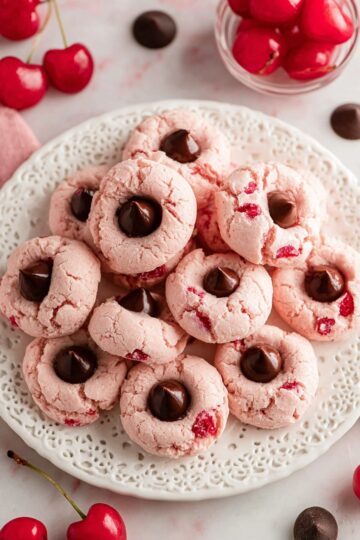
Nothing says sweet and thoughtful quite like making your own Valentine’s Day treats, right? This Valentine’s Day Cookie Cups with Hershey’s Hugs Recipe is honestly one of my favorites for sharing or gifting. Soft, buttery sugar cookies wrap around a melty chocolate hug, creating bite-sized bursts of love you’ll want to make again and again.

Jump to:
Why You'll Love This Recipe
I remember the first time I made these cookie cups—they were the perfect combo of chewy cookie and creamy chocolate hit, all wrapped up with festive sprinkles. They’re deceptively simple but always impress the crowd, whether it’s a Valentine’s party or just a cozy night in.
- Perfectly Portable: These cookie cups are bite-sized and easy to share or gift, making them ideal for parties or sweet surprises.
- Simple Ingredients: Uses a convenient sugar cookie mix and easy add-ins to get there fast without sacrificing flavor.
- Melty Chocolate Center: Hershey’s Hugs melt inside as they bake, giving a gooey, sweet surprise in every bite.
- Festive and Fun: Top with your favorite red or heart-shaped sprinkles to amp up the Valentine’s Day vibe.
Ingredients & Why They Work
Now, before you start mixing, let’s chat about the key ingredients you’ll want. Most of them are pantry staples, but I have a few tips to make your Valentine’s Day cookie cups turn out perfectly every time.
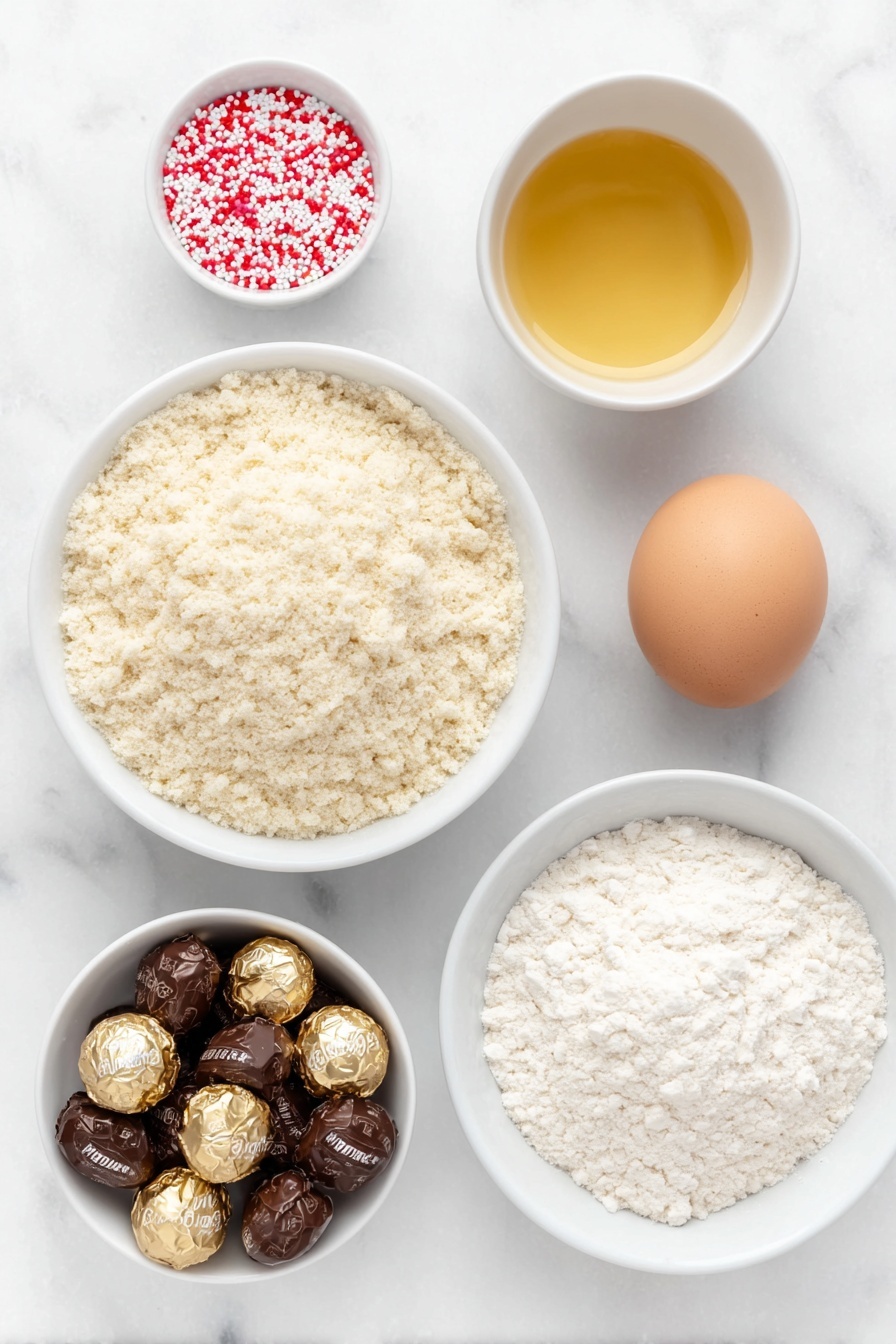
- Sugar cookie mix: The base for these cookie cups — it provides sweetness and just the right texture, so you don’t have to start from scratch.
- Salted butter: I use melted salted butter to add richness and help the dough come together smoothly.
- All-purpose flour: Adding a bit of extra flour gives the dough the right structure to hold the chocolate inside.
- Egg: Adds moisture and helps bind everything together for that perfect chewy texture.
- Pink/red food coloring: Adjust this to get your ideal rosy shade — it makes these treats feel extra festive and love-filled!
- Hershey’s Hugs: The star of the show — these chocolates melt inside creating a luscious center.
- Decorative sprinkles: Totally optional but so fun to personalize — think hearts, flowers, or anything colorful that matches your vibe.
Make It Your Way
One of the best parts about this Valentine’s Day Cookie Cups with Hershey’s Hugs Recipe is how easy it is to customize. Whether you want to switch up flavors, colors, or toppings, you can add your own creative twist to make these treats truly your own.
- Variation: Chocolate Chip Cookie Dough - I love swapping the sugar cookie mix for chocolate chip cookie dough to give these cups a chocolaty twist that pairs beautifully with the Hershey’s Hugs center. It adds an extra layer of gooey goodness and decadence that's hard to resist.
- Diet-Friendly Option: Try using a sugar cookie mix that is gluten-free or made with alternative flours if you’re baking for friends with dietary restrictions. Just be sure to pick a mix that works the same way so your cookie cups hold together perfectly.
- Festive Sprinkles: I always reach for heart-shaped or pink and red sprinkles to amp up the Valentine’s Day vibe. But you can swap them out for edible glitter, colored sugar, or even crushed candy canes for a fun seasonal twist.
- Seasonal Flavors: Adding a hint of cinnamon or a dash of peppermint extract to the cookie dough can instantly give these sweets a cozy, wintertime feel—perfect for sharing outside Valentine’s Day, too.
Step-by-Step: How I Make Valentine’s Day Cookie Cups with Hershey’s Hugs Recipe
Step 1: Prep Your Pan and Oven
Start by generously spraying your mini cupcake pan with cooking spray to avoid any sticking later on. Then preheat your oven to 350 degrees Fahrenheit. Having the oven preheated ensures even baking right from the start and helps the cookie cups bake to that perfect soft and slightly golden texture.
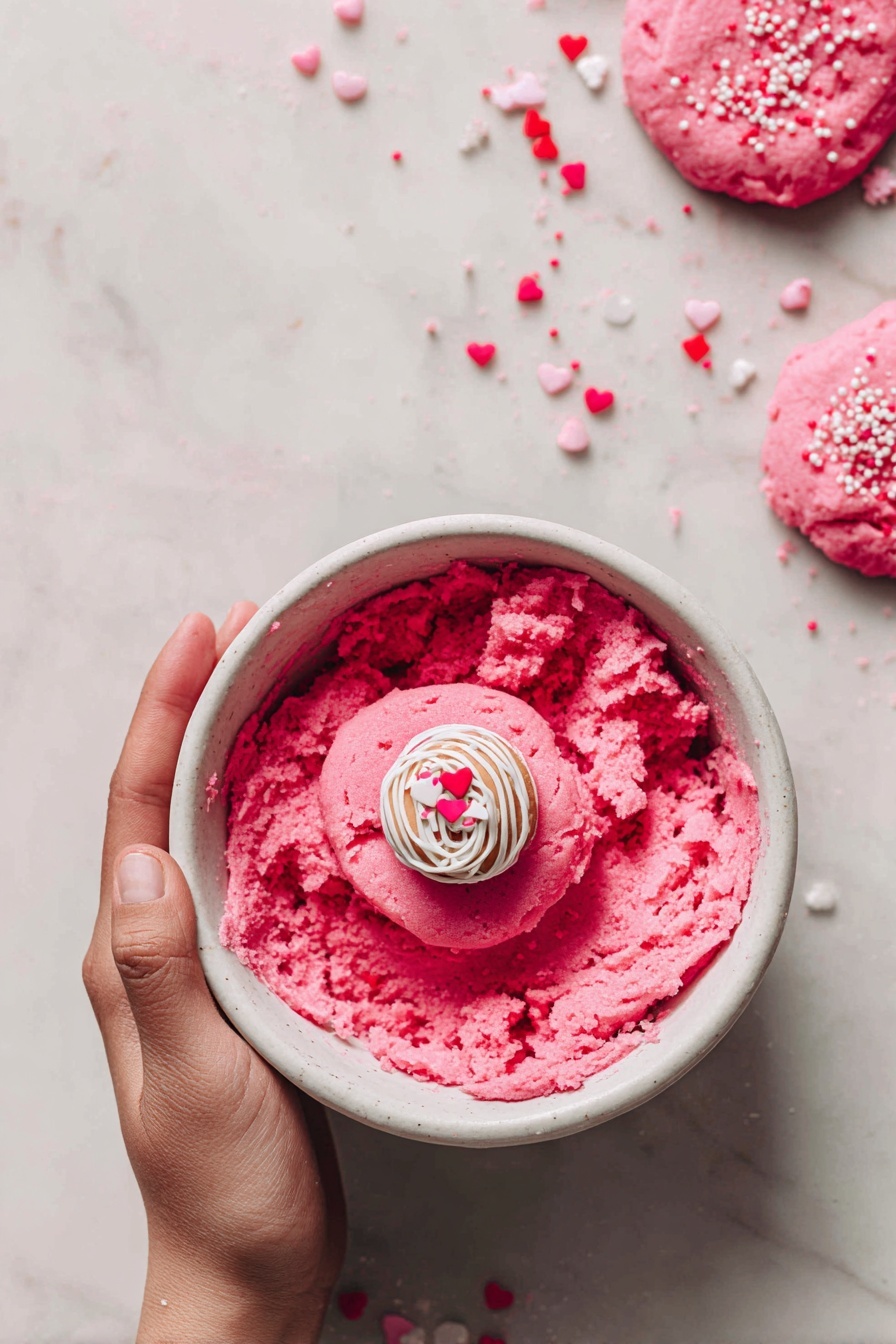
Step 2: Mix Up Your Colorful Dough
In a large mixing bowl, combine the sugar cookie mix, melted salted butter, all-purpose flour, the room temperature egg, and your chosen amount of pink or red food coloring. Beat everything together until just combined—overmixing can make the cookies tough, so go for a soft dough with just a few streaks of color evenly blended.
Step 3: Flatten and Fill
Grab about one tablespoon of dough and gently flatten it out with your hand or a rolling pin until it is roughly the size of your palm. Nestle an unwrapped Hershey’s Hug right in the center. Now the fun part—wrap the dough carefully around the chocolate, making sure to seal any cracks with your fingers. This step is key to keeping the treat intact while it bakes.
Step 4: Arrange and Bake
Place each filled dough ball upright into the mini cupcake pan cavities. Continue until all the dough and Hershey’s Hugs are used up. Pop the pan into the oven and bake for 12 minutes. Watch for the outsides to look set and start turning a soft golden color but still keep that tender chew inside.
Step 5: Add Sprinkles and Cool
Right after taking the cookie cups out of the oven, press your favorite decorative sprinkles gently onto the warm tops. This helps them stick nicely while the dough is still soft. Then let the cookie cups cool directly in the pan for 15 minutes. This resting time is essential—it lets them firm up so you can remove them without crumbling.


Leave a Reply